The Kitchen Remodeling Lighting Plan: Recessed Spacing, Under-Cabinet Runs and Title 24
Published
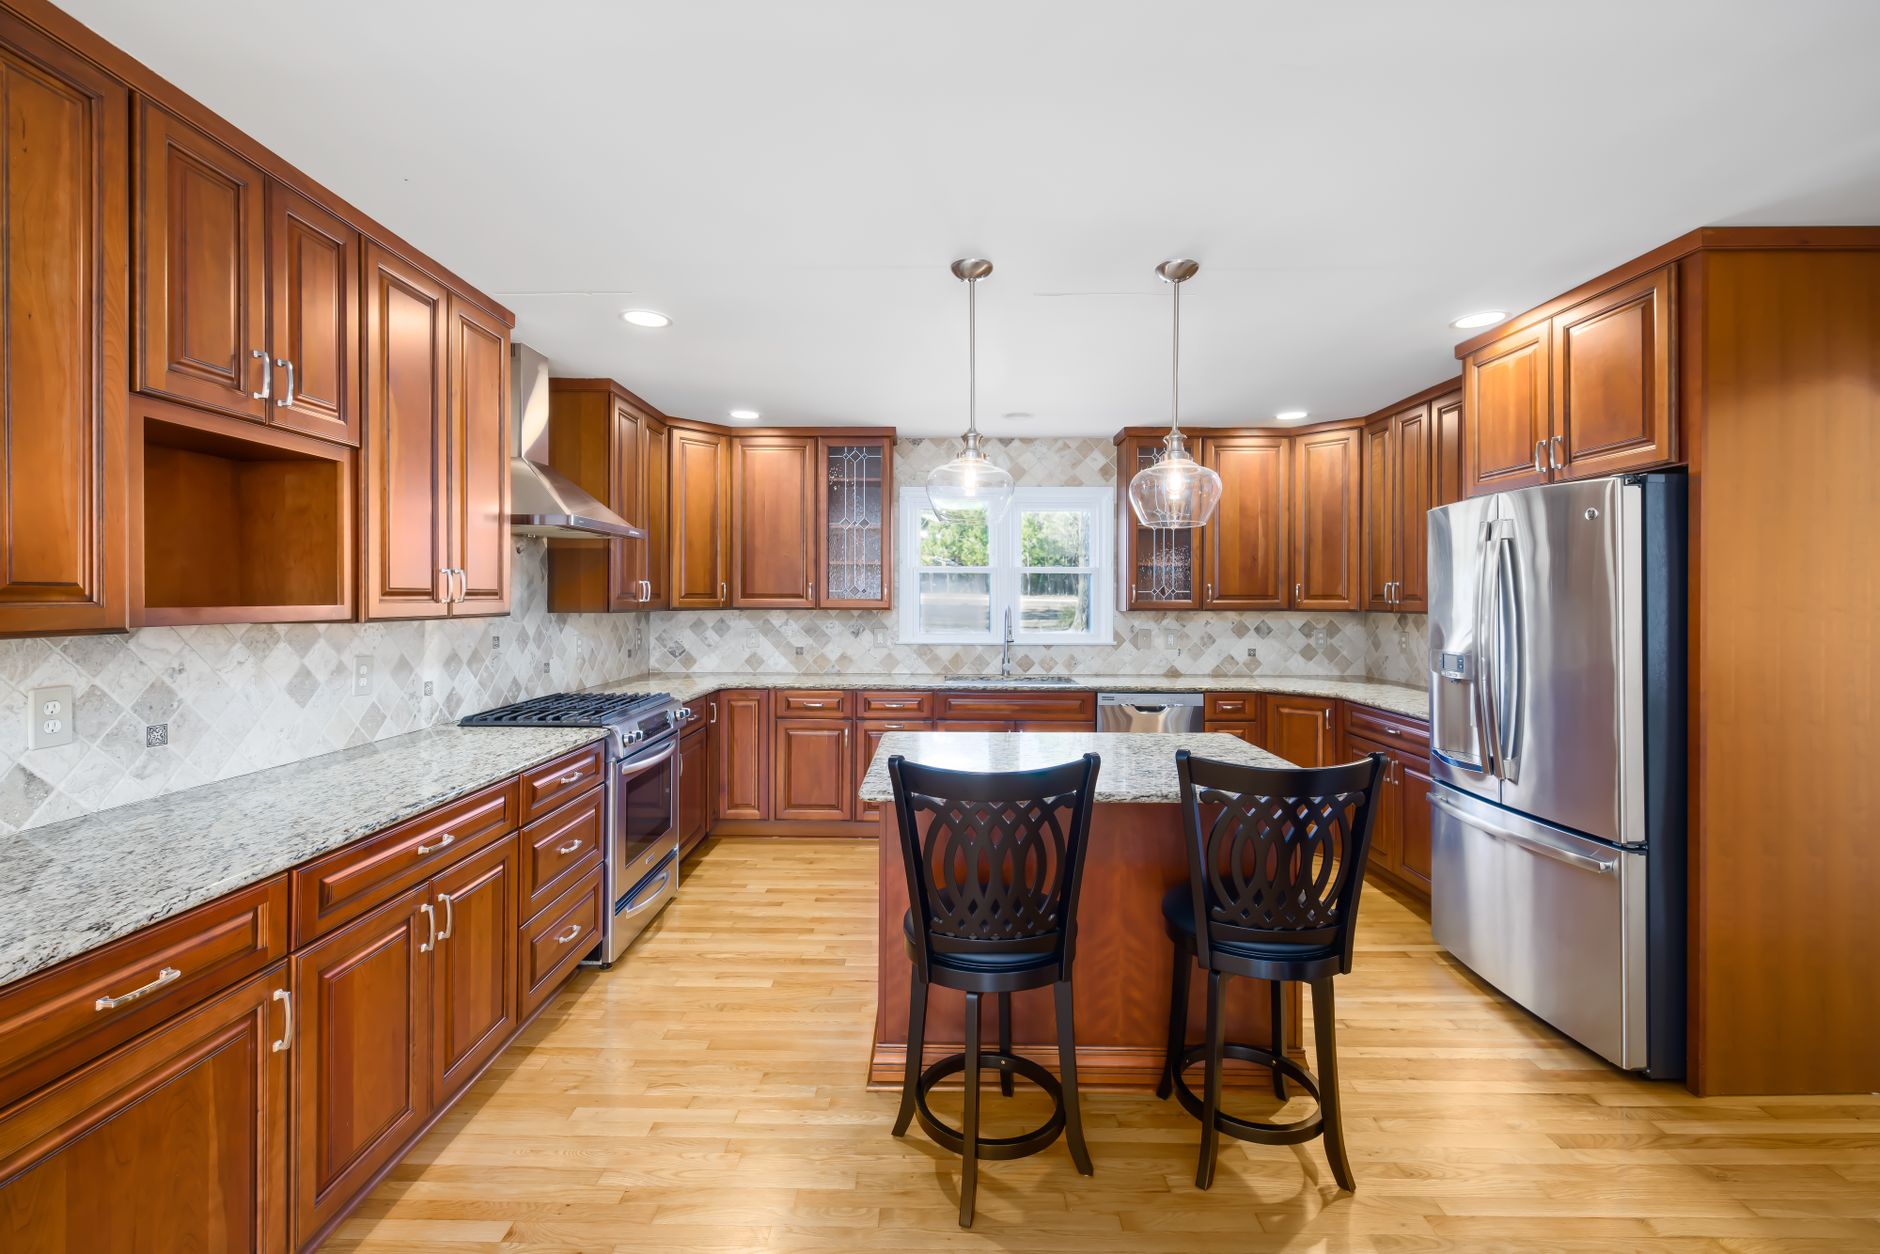
Light in a kitchen does three unrelated jobs, and one fixture type cannot do all of them. It has to fill the room so nobody walks into a corner, it has to land on the work surfaces where knives and hot pans are, and it has to make the room look like somewhere people want to sit at nine in the evening. Ambient, task, accent. A ceiling full of evenly spaced recessed cans answers the first job competently and the other two badly, which is why so many freshly finished kitchens feel bright and still somehow hard to cook in.
The reason this keeps happening is a sequencing problem rather than a taste problem. Cabinets, counters and appliances are selected over weeks, with samples and spreadsheets. The lighting plan gets drawn in about twenty minutes, usually by whoever is holding the pen when the electrician asks where he should put the boxes, and by then the ceiling is open and the answer has to be given that afternoon.
Homeowners searching for a kitchen remodeling general contractor near me are almost always shopping on cabinets, stone and schedule, and those are reasonable things to compare. The question worth adding is a smaller one: who draws the lighting plan, when do they draw it, and does it exist on paper before the rough electrical inspection. In California there is a second reason that matters, because the lighting in a permitted kitchen remodel has to satisfy the state energy code, and the fixtures that satisfy it are not always the ones sitting in the showroom.
Task light is not a nice extra, it is the whole problem
Stand at a countertop under a run of upper cabinets with only ceiling lights on. Your own head and shoulders are between the fixture and the work surface, so you are chopping in your own shadow, and the upper cabinets cut off whatever light would have arrived at a useful angle. Adding more ceiling cans makes the room brighter and the shadow sharper.
Under-cabinet lighting fixes it because the source sits below and in front of the obstruction. It is the single highest value item on a kitchen lighting plan and it is routinely the first thing cut, usually because it reads as decorative on a quote. It is not decorative. Every counter surface that sits under a cabinet needs its own light, and a counter run with no upper cabinets above it needs the ceiling fixtures positioned deliberately instead of by default.
Where the under-cabinet run actually goes
Mount the strip toward the front edge of the cabinet bottom, not at the back wall. A source set at the back throws its brightest patch onto the backsplash and leaves the front half of the counter dim. A source set forward washes the whole depth and puts the brightest part where the cutting board is.
Then hide it. Polished quartz and polished granite are mirrors, and a bare line of diodes reflects as a row of dots that is visible from every seat in the room. A light rail, a shallow valance or a recessed channel in the cabinet bottom solves it. So does a diffused linear tape rather than individual pucks, which also kills the scalloped bright and dark pattern that puck lights leave along a run.
Three details belong on the drawing rather than in someone's head: where the driver lives, usually inside the cabinet above or in the wall cavity with access; that the under-cabinet run is switched separately from the ceiling, because it is the light people use alone at night; and that the driver and the dimmer are a confirmed compatible pair. Mismatched dimming hardware is the cause of almost every buzzing, flickering, will-not-go-below-forty-percent complaint in a new kitchen, and it is a parts question settled in advance, not a wiring fault to be chased afterwards.
Recessed spacing, aimed at the counter rather than the floor
The usual rule of thumb spaces recessed fixtures at roughly half the ceiling height. On the eight foot ceilings common in tract housing that puts cans about four feet apart, which is a sensible starting grid for ambient fill.
The grid is where most plans stop, and it is the wrong unit of measurement for the perimeter. Along a wall of cabinets, the useful question is not spacing but distance from the wall. With standard base cabinets and standard upper cabinets, a can centered roughly two feet off the wall face throws its cone onto the counter and the fronts of the lower cabinets. A can centered a foot off the wall lights the upper cabinet doors beautifully and leaves the counter in shadow. That one dimension decides whether the ceiling layer helps or just adds glare.
Beam angle and color are the other two specifications. A wide flood gives soft general fill, a narrower beam gives a defined pool for an island or a sink. Pick one color temperature for the whole room and hold it, because a warm ceiling and a cool under-cabinet run look like a mistake from the first evening onward. High color rendering is worth asking for by number, since food and wood finishes look dull under poor rendering, and matching manufacturer, model and ideally batch across every fixture avoids the common result of a ceiling where three of eleven cans are visibly pinker than the rest.
Island pendants want to hang around a hand's span above head height when seated, typically somewhere between two and a half and three feet above the counter, which leaves sightlines across the room intact. Their junction boxes get located from the island's as-built center line, measured after the cabinets are set, not from the design drawing. Islands move an inch or two during install for good reasons, and a pendant that is an inch off center over a long island is permanent and obvious.
The California energy code half of the plan
Title 24, Part 6 is the state energy code, and residential lighting lives in its section 150.0(k). It is revised on a cycle of roughly three years, so the governing requirement is whichever cycle is in force on the day the permit is issued. That is a question for the plan checker or the electrician of record, and the answer is not optional for permitted work.
The broad shape of the requirement has been stable across recent cycles. Permanently installed luminaires have to be high efficacy, which in practice means LED sources certified to the state's own reference appendix rather than simply being labelled LED on the box. Kitchen lighting generally has to be controlled by a dimmer or a vacancy sensor rather than a plain on and off switch. Recessed ceiling fixtures carry extra conditions covering their certification, their air sealing against the ceiling plane and the type of socket they use, which is why the inexpensive screw-base housing in a big box aisle is frequently the wrong part for the job.
Under-cabinet lighting is installed lighting, so it counts too, and so do interior cabinet lights and toe-kick lights if they are wired in. None of this is onerous once it is known. It is only expensive when it is discovered at inspection, because the fix is swapping fixtures that are already cut into finished drywall.
What the ceiling above the kitchen will allow
Two houses on the same street in Irvine can accept completely different lighting plans, and the deciding factor is what sits above the kitchen ceiling.
A single story home on a slab, with an open attic overhead, is the easy case. Housings have room, wiring is reachable, and the plan can be drawn more or less freely. A kitchen under a second floor is a different exercise, because the ceiling cavity is a shallow framed floor assembly with joists running one direction, plus whatever plumbing and ductwork was routed through it. Fixtures land where the bays allow, and a tidy symmetrical grid on paper can collide with a joist that nobody mapped. Shallow canless fixtures have made that much easier than it used to be, but the layout still has to be checked against the framing before boxes are set.
Attached homes bring a third condition. Where the kitchen ceiling forms part of a rated floor and ceiling assembly between dwellings, cutting holes in it is not a free action: the rating has to be maintained, which means fire-rated housings, an approved enclosure above the fixture, or a surface-mounted solution instead. That is an engineering requirement, not a preference, and it is far cheaper to learn about during design than during framing inspection.
The textured ceilings common in the tract and attached homes built across Irvine villages from the 1970s through the 2000s add one practical note. Every new hole in them needs the texture feathered back in and the whole ceiling repainted to hide it, so a plan that adds a dozen cans is also a full ceiling finish job, and that belongs in the number from the start rather than appearing as a change order.
The switching plan, which nobody drafts
The last piece costs almost nothing and gets forgotten in nearly every remodel. Walk the room and decide which switch sits at which doorway, which groups are on their own dimmer, and whether a kitchen with two entrances needs three-way switching so nobody crosses a dark room. Keep the lighting off the counter receptacle circuits so a tripped breaker from a toaster does not take the room dark. Put the under-cabinet run, the ceiling and any accent or cabinet lighting on separate controls, because the evening setting is one layer and the cooking setting is all of them.
Drawn properly, the whole plan is one marked-up ceiling view and a short list: fixture model, quantity, beam angle, color temperature, dimmer model, and the distance from each wall face. It takes an hour. It is the difference between a kitchen that photographs well and a kitchen that works at six in the morning and at nine at night, and the only moment it can be done cheaply is while the ceiling is still open.